Before You Crack Open That Tin: Your Complete First-Timer's Decorating Checklist

Photo by Photo by Eugene Chystiakov on Unsplash on Unsplash
So you've decided to do it yourself. Maybe you've been putting it off for months, maybe a quote from a decorator gave you a fright, or maybe you've just caught the bug after watching one too many renovation videos on a Sunday afternoon. Whatever's brought you here, welcome — you're in the right place.
Here's the thing nobody tells you upfront: the painting part of decorating is actually the easy bit. What separates a finish that looks genuinely professional from one that looks a bit patchy and sorry for itself is everything that happens beforehand. This checklist is designed to make sure you don't skip the steps that matter, whether you're refreshing a single bedroom or tackling a full-house redecoration.
Step One: Plan Before You Purchase
It sounds obvious, but a surprising number of first-timers head straight to the paint shop without doing the groundwork. Before you buy a single thing, sort out the following:
Measure your room properly. Calculate the total wall area you're painting (height × width of each wall, added together, minus doors and windows). As a rough guide, one litre of standard emulsion covers around 12–14 square metres on a smooth surface — but on textured or porous walls, you'll get less coverage, so always buy a little extra. Running out mid-wall and having to match a tin from a different batch is a headache nobody needs.
Decide on your finish. Matt, satin, eggshell, silk — each has its place. For most living rooms and bedrooms, matt emulsion is forgiving and looks great. In hallways, kitchens, or kids' rooms where you need a wipeable surface, a satin or eggshell finish is more practical. (We've written a full guide on this if you want to go deeper.)
Think about the number of coats. If you're going from a dark colour to a light one, or painting over bare plaster, two coats is the minimum. Factor that into how much paint you order.
Step Two: Gather Your Tools (The Right Ones)
You don't need a van full of professional kit, but trying to cut corners on tools will cost you time and quality. Here's your starter kit:
- Rollers: A 9-inch roller with a medium-pile sleeve (around 10–12mm) is the workhorse for flat walls. For textured surfaces, go longer pile.
- Brushes: A 2–2.5 inch angled brush for cutting in around edges, skirting, and ceiling lines. Don't buy the cheapest ones on the shelf — bristles that shed into wet paint are miserable to deal with.
- Roller tray and liner: Liners make cleaning up far less painful.
- Extension pole: Saves your back enormously on ceilings and tall walls.
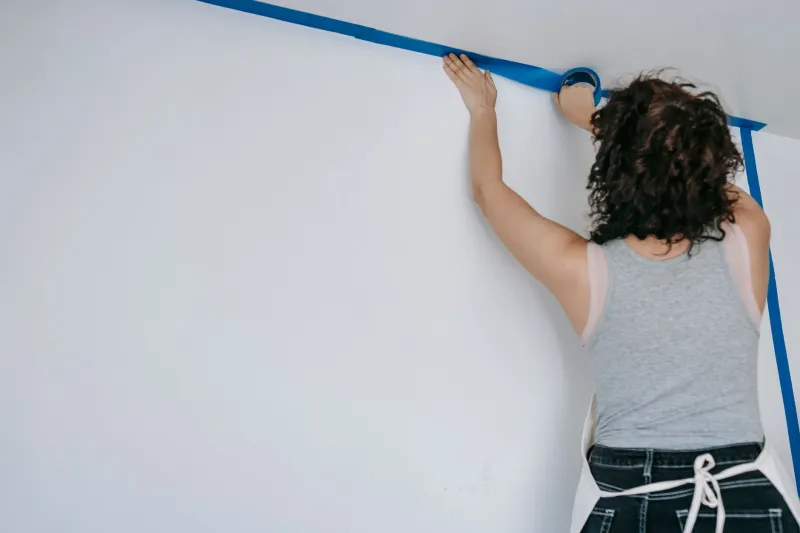
- Masking tape: Use a decent-quality low-tack tape for clean lines along skirting, window frames, and coving.
- Dust sheets: Cover everything. Seriously, everything. Emulsion dries quickly on carpet and fabric and it's a nightmare to shift.
- Sandpaper: Various grits — 120 for general surface prep, 240 for finishing between coats.
- Filler and filling knife: For holes, cracks, and imperfections in the wall surface.
- Bucket and sponge: For washing down walls before you start.
Step Three: Prep the Room
This is where most first-timers lose patience and where most decorating disasters are born. Prep is boring. It's also non-negotiable.
Clear and protect. Move furniture to the centre of the room and cover it with dust sheets. Remove light switch and socket covers if you can — it makes cutting in much cleaner. Take down curtain poles and picture hooks.
Wash the walls. Grease, dust, and nicotine residue all prevent paint from adhering properly. A warm water and sugar soap solution wiped over the walls, then rinsed off, makes a real difference. In kitchens especially, this step is critical.
Fill every crack and hole. Use a ready-mixed filler for small imperfections, smooth it flush with a filling knife, let it dry completely, then sand it back. Don't rush this — any texture you leave will show through the paint.
Sand the surfaces. Even walls that look smooth often have rough patches, old paint drips, or slightly raised areas. A light sand and a wipe down with a damp cloth gives you the cleanest possible starting surface.
Apply a primer if needed. Fresh plaster, stain patches, or very dark existing colours all benefit from a primer coat before your topcoat goes on. In older Ulster houses especially — where damp patches and old smoke staining are common — a stain-blocking primer can be a real lifesaver.
Step Four: Consider the Ulster Climate Before You Start
This one's specific to us, and it genuinely matters. Northern Ireland's weather affects decorating more than people realise.
Don't paint in cold or damp conditions. Most paints need temperatures above 10°C to cure properly. During winter months, or even on cold autumn days, a poorly heated room can mean your paint takes far longer to dry and may not bond as well to the surface. Turn the heating on a few hours before you start and keep it on while you work.
Watch the humidity. On particularly wet days — which, let's face it, is a lot of days — humidity levels indoors can be high enough to affect drying times and final finish. If possible, pick drier spells for your decorating projects, and make sure there's some ventilation in the room.
Allow proper drying time between coats. The can might say "recoat in 2 hours," but in a cool or humid Ulster home, that can easily become 4 hours or more. Touch the first coat — it should feel completely dry and not tacky before you apply the second. Rushing this is one of the most common causes of a streaky, uneven finish.
Step Five: Technique Basics for a Clean Result
You don't need years of experience to get a decent finish — just a few basic habits:
- Cut in first, then roll. Paint your edges with a brush before using the roller on the main wall area. Do this while the brush paint is still wet so the roller blends into it seamlessly.
- Work in sections. Don't let cut-in edges dry before rolling — "wet edge" technique keeps joins invisible.
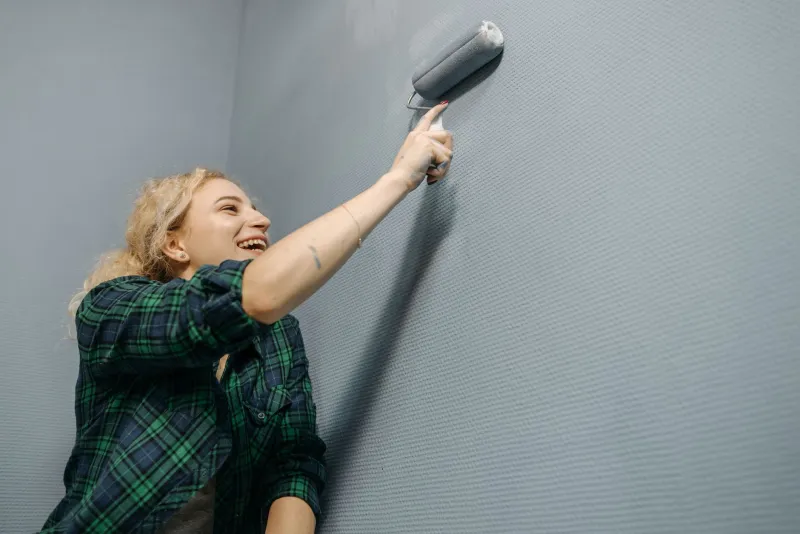
- Roll in a W or M pattern, then smooth out with vertical strokes. This distributes paint evenly and avoids roller lines.
- Don't overload your brush or roller. A common beginner mistake — too much paint leads to drips and runs. Less is more; you can always add another coat.
- Keep a wet edge throughout. Always work back into the wet paint rather than starting fresh sections from scratch.
Step Six: The Finishing Touches
Once your final coat is dry, resist the urge to pull off the masking tape immediately — wait until the paint is touch-dry but not fully cured, then peel it back slowly at a 45-degree angle. This gives you the cleanest possible line.
Replace socket covers, rehang curtain poles, and move furniture back carefully. Give the room a day or two before pushing anything hard against the walls — fresh paint scuffs easily until it's fully cured.
You've Got This
First decorating projects are genuinely satisfying when they come together, and the skills you pick up on your first room make the next one noticeably easier. The checklist above isn't exhaustive, but it covers the ground that matters most. If you're ever unsure about a product, a technique, or just want a second opinion before you commit, the team at Paint & Wallpaper NI is always happy to help. We've seen every question under the sun — nothing phases us.